Splunk On-Call is an incident management platform that helps DevOps team to collaborate and resolve incidents effectively. You can organize your team for on-call scheduling, incident escalations and notify them in no time whenever there are issues that requires immediate attention.
Integrating Splunk On-Call with Uptrends automatically creates incidents reflected in your Splunk On-Call dashboard. Setting up the integration between both systems takes these steps:
1. Set up your REST integration in Splunk On-Call.
- Login to your Splunk On-Call account.
- In the Integrations tab, click the REST integration which is already enabled by default. For more information, check out the Splunk On-Call REST Integration .
- Copy the URL to notify without the /$routing_key value and save this for later use.
2. Set up the integration in Uptrends
- Go to your Uptrends account and go to menu.
- At the upper right corner of your screen, click the button.
- A popup will be shown, select Splunk On-Call as the third party integration type.
- Click button.
- You can now edit the details for your integration setup. Give a name to your new integration.
- By default, the field is disabled. Tick the checkbox to enable customization and adjust the default integration settings for Splunk On-Call, otherwise, you can leave it as it is.
Note: When you enable the , the Customizations tab tab will appear. This allows you to specify which messages will be sent out when an alert is generated including third party or API to contact, content of HTTP messages or any authentication that is required and so on.
In most cases, just one single HTTP step will be sufficient. However, it is possible to add more steps if you need separate steps for authentication. Additionally, you can choose to define separate steps for individual alert types. This is helpful if your error messages need to be different from your OK messages (for resolved alerts). For more information, visit our knowledge base articles about integrations.
- Under the Predefined variables section, you can see the SplunkOnCallUrl name. Choose which value you’d like to specify from the dropdown menu. For instance, you may choose the Specify value here option.
- Click the three ellipsis next to the SplunkOnCallUrl dropdown. A popup will be shown and you can choose from the two options available. You can paste the value of the URL to notify you’ve saved earlier in the Plain text field, or choose a username or password for vault credentials (if applicable).
- Click button.
- After which, specify the value of the RoutingKey you want to use. Routing keys can be found under the Settings tab in your Splunk On-call account.
- Click to confirm integration settings.
This completes the integration setup in Uptrends. You can now use this integration and add it in your alert definitions .
And that’s it! You’ve successfully set up the Splunk On-Call integration.
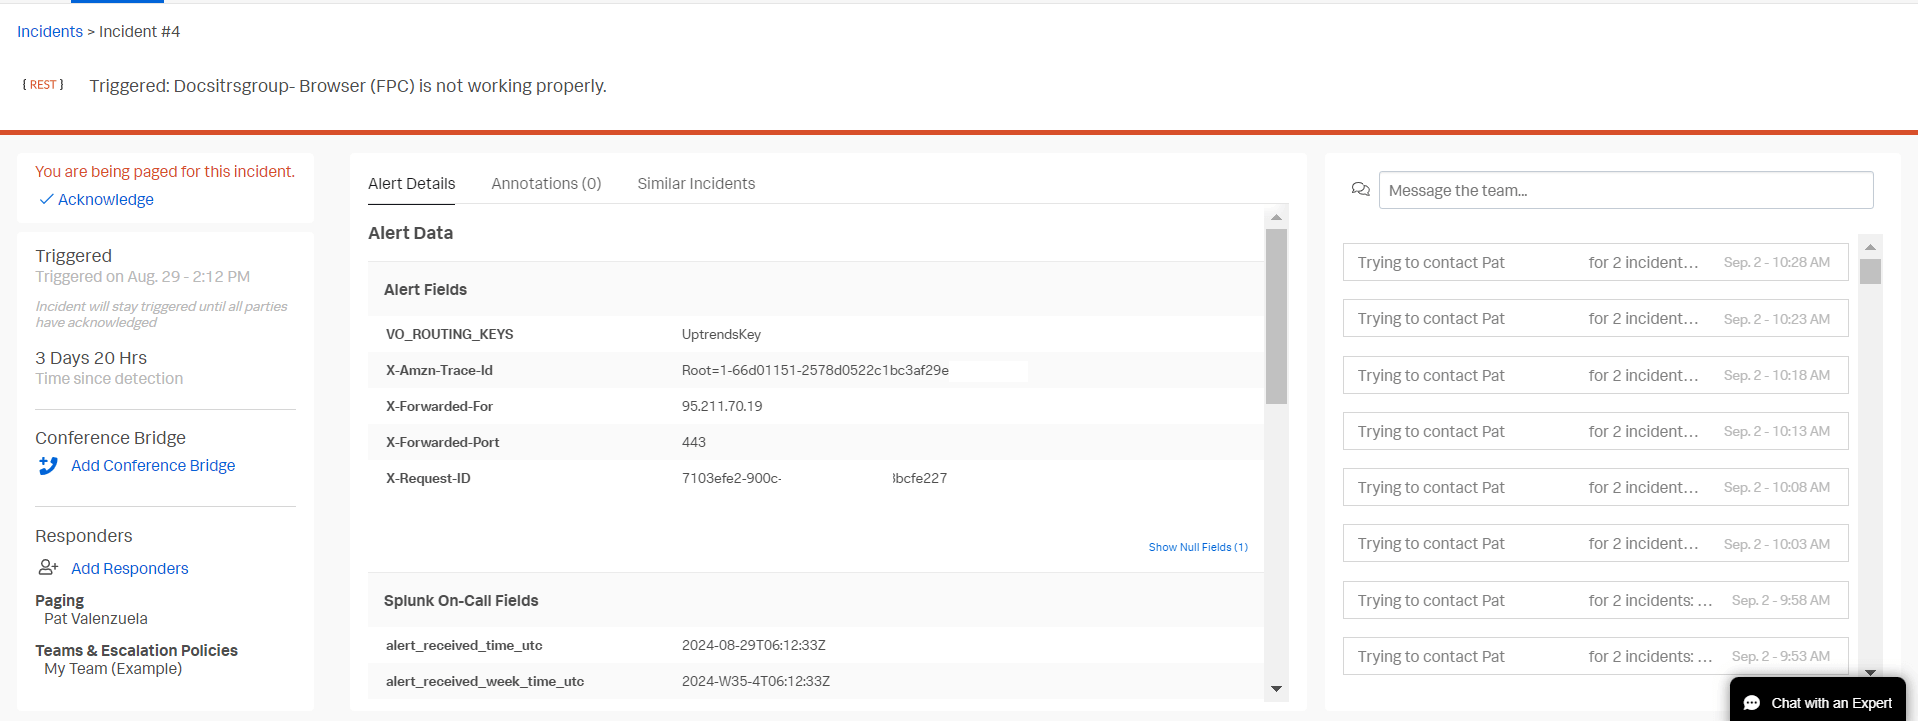
What will you get when this integration has been set up? See an example below of what the integration looks like in your Splunk On-Call dashboard.

As always, if you have any questions, please reach out to our support team .