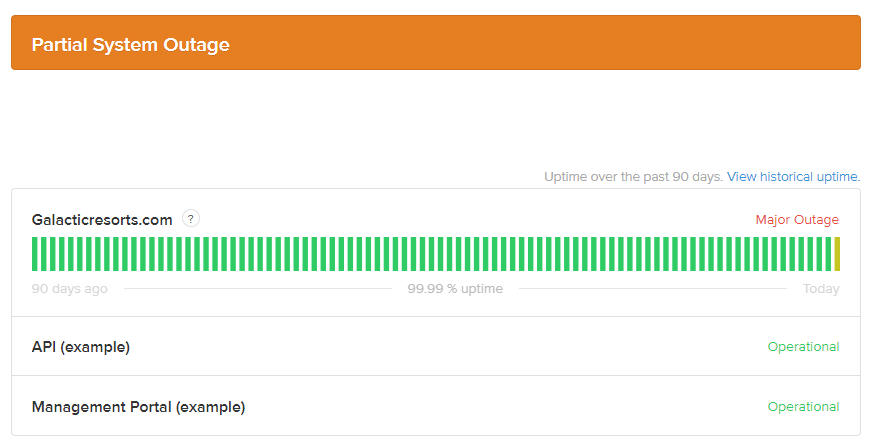
Statuspage is Atlassian’s status and incident communication tool, allowing you to communicate your pages' and websites' status with your users in real-time.
Getting your Uptrends alerting integrated into your Statuspage environment is simple! Setting up the integration between both systems takes these steps:
- Set up a component in Statuspage
- Create a Statuspage API key
- Set up the integration in Uptrends
- Add the integration to an alert definition in Uptrends
After setting up this integration and with the proper alerting settings, your status page will immediately display the real-time status of your page or resource for your users.

Read on for detailed instructions on how to set up this integration!
1. Add a component in Statuspage
- In your Statuspage environment, add a new component under the Components menu. Give the new component a suitable name, and optionally a good description. Save the component.
- Open the newly created component, and take note of the URL. It will be in the form manage.Statuspage.io/pages/{page_id}/components/{component_id}/edit. We’ll need both the {page_id} and {component_id} later on, so make sure to take notes!
2. Create an API key in Statuspage
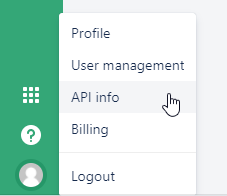
- At the bottom left of the screen, click the user icon, and go to API info.

- Here, create a new API key by clicking the Create key button. Fill in an appropriate name and confirm.
- The newly created API key appears immediately. Make sure to take note of this key, as we’ll need it later.
This completes the integration setup on the Statuspage end.
3. Set up the integration in Uptrends
To add a new integration for Statuspage in Uptrends, follow these steps:
- Go to .
- Click at the top right.
- Choose Statuspage as the integration type.
- Specify a name for this integration.
- Paste the Statuspage API Key, Page_Id and Component_Id in the corresponding fields.
- Click to store your settings. The new Statuspage integration will appear on the Integrations page.
This completes the integration setup in Uptrends. You can now use this integration in your alert definitions.
4. Add the integration to an alert definition in Uptrends
An integration definition on its own does nothing. You need to attach it to an escalation level in an alert definition in order to receive messages through it.
- Go to and open the one that you want to attach the integration to.
- Each Escalation level tab contains a section Alerting by integrations with a list of available integrations. Read the knowledge base article Alert escalation levels to learn how escalations work.
- Select the integration(s) that you would like to attach to this escalation level. In this case the Custom integration for Statuspage.
- Make sure to hit the button to save your changes.
And that’s it! You’ve successfully set up the Statuspage integration.
As always, if you have any questions, please reach out to our support team .